 |
| First legs drawing |
 |
| Final leg drawing |
 |
| Leg fabric |
 |
| Here they are |
 |
| All fused raw edge applique |
 |
| What a handsome boy! More eyes to come |
 |
| First legs drawing |
 |
| Final leg drawing |
 |
| Leg fabric |
 |
| Here they are |
 |
| All fused raw edge applique |
 |
| What a handsome boy! More eyes to come |
 |
| possible layout of the eyes (these ones are all for the end feathers, and need lots of hand and machine applique yet |
 |
| Glue the feather base to the feathers |
 |
| Machine applique (no stabiliser for me!) |
 |
| Fold in half and trim the sides |
 |
| and the curve |
 |
| and the base - all on the floor |
 |
| Pull away the glue and trim the inside |
 |
| all trimmed - please ignore the flipped seams :-( |
 |
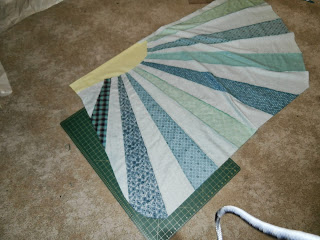
| And that's it for this weekend. I have jobs to do. |
 |
| Initial sketch |
 |
| Final sketch |
 |
| Tail fabrics |
 |
| Scaled to size |
 |
| Possible layout (and the peacock's body) |
 |
| Testing without cutting |
 |
| Materials - cheap grease proof paper, glue and scissors |
 |
 |
| Much better spacing! Use a sophisticated ruler to draw the lines |
 |
| Keep going |
 |
| Turn over to reveal the other half |
 |
| Trace over the lines from the other side |
 |
| Open. Check out the imperfect symmetry. |
 |
| Test for size |
 |
| Test again |
 |
| Decide colour layout and number pieces. Cut sections apart and use as patterns for the fabric |
 |
| Repeat. Change your mind about the starting colour |
 |
| Pin before rotary cutting. Remember to include the seam allowance |
 |
| Keep cutting sections apart, cut fabric and sew together. Keep them in order |
 |
| Slowly getting there. More to come. |